
Willd Nest is reader-supported. We may earn a commission from qualifying purchases at no extra cost to you.
Quick Answer
Here is how to plan a camping trip in the right order: decide who and when, set a budget, pick a destination, book the site, check rules and fire restrictions, review the weather, plan food, pack gear, make a safety plan, then follow a countdown.
Why Most People Plan in the Wrong Order
Most people learn how to plan a camping trip by doing it backward. They buy a tent, fall for a lake photo, and then find the campground sold out months ago, a fire ban is in effect, and storms are in the forecast. This guide flips that sequence.
You will work through twelve steps in the order that avoids those surprises, written for beginners and families planning a car camping trip with a tent. By the end you will have a booked site, a packing plan and a countdown to follow. Each step ends with one practical tip, and the sections on booking, weather and safety lean on official sources, so you can check the facts yourself.
Step 1: Decide Who, When and How Long
Start with the people, the dates and the length of the trip. Those three choices limit every other decision, so lock them in before you look at a single campground.
Think about who is coming and what each person needs. A toddler needs predictable naps and a short drive. A teenager needs something to do. A grandparent may need a level site close to a bathroom. A dog changes which campgrounds you can book.
Camping is also popular. KOA’s 2026 Camping and Outdoor Hospitality Report found that over 52 million North American households camped in 2025, so good sites are shared with a lot of other people.
Pick dates with the crowds in mind. Weekends fill first. At Assateague Island National Seashore, for example, the National Park Service notes that nearly all weekend reservations are taken on the first day they open. Weekday nights give you better odds and quieter sites. Leave No Trace guidance also says to schedule trips away from times of high use when you can.
For length, one or two nights is plenty for a first trip. You can always stay longer next time.
Answer these before moving on:
- Who is coming, and what are their ages and needs?
- Which dates are fixed, and which can move?
- How long are we willing to drive, and how long do we stay?
- Does anyone need extra comfort to enjoy the trip?
Sketch a Simple Camping Trip Itinerary
An itinerary does not need hours on it. Write one anchor per day: arrive and set up, one main activity, a slow morning, pack up. Loose plans survive rain and tired kids far better than tight ones.
Pro Tip: Write down the time you need to leave home to arrive with daylight to spare. Setting up in fading light is hard, especially with small children.
Step 2: Choose Your Camping Style
For a first trip, choose car camping at a developed campground close to home. You park at your site, keep gear in the car, and have bathrooms and help nearby if something goes wrong.
Your style decides your gear, your budget and your stress level, so choose it on purpose. Here is how the common options compare:
| Style | Best for |
|---|---|
| Car camping | First trips and families |
| Tent camping | Low cost, simple setup |
| RV camping | Hookups and longer stays |
| Dispersed camping | Experienced campers, no facilities |
| Backcountry | Fit hikers carrying everything |
| Glamping | Comfort and nervous first-timers |
Car camping and tent camping overlap. Most beginners do both at once: a tent beside the car. Dispersed camping means camping outside developed campgrounds, usually on public land with no services, so rules and preparation matter much more. Backcountry trips add carrying weight and navigation, which is a lot to learn on a first outing.
Here is a simple test. Could everyone in your group sleep well, eat well and reach a bathroom easily with this style? If any answer is no, move one step toward more comfort.
If you are tent camping with kids, size matters more than you might expect. A tent with extra floor space makes rainy evenings easier. Our family tents guide explains what to look for before you buy.
Pro Tip: Pick the style you would happily repeat. A comfortable first trip that makes everyone want to go again beats an impressive one that ends in complaints.
Step 3: Set a Budget
Add up five costs: site fee, fuel, food, gear you must buy, and a 10 to 15 percent buffer. That is your trip budget, and it takes about five minutes to work out.
Trip budget = (site fee + fuel + food + must-buy gear) + 10-15% buffer
- Site fee: Read the listing for the nightly rate and any reservation fee. Fees vary by land manager, site type and season. At some parks, camping fees are charged on top of the park entrance fee, so check both.
- Fuel: Estimate the round-trip drive, plus stove fuel if you cook on a camp stove.
- Food: Plan the meals first, then total the grocery list.
- Must-buy gear: Only items you cannot borrow or rent. Delay everything else.
- Buffer: Ice, a forgotten item, a dinner stop on the way home. Add 10 to 15 percent so one surprise does not break the plan.
Cut Costs Without Cutting Safety
You can save on:
- Weekday nights instead of weekends
- A closer campground and a shorter drive
- Borrowed or rented gear for the first trip
- Simple meals cooked at camp
- Skipping gadgets you have no clear use for
Do not save on weather-appropriate shelter, a way to stay warm overnight, first aid, enough water, reliable lights, or a way to receive weather alerts.
If a tent is on your must-buy list, our best family tents of 2026 roundup is a good place to start comparing.
Pro Tip: Write the total down before you book. When two campgrounds look equal, the number in front of you settles it.
Step 4: Pick a Destination
Pick a destination that fits your group, your dates and the drive you are willing to make, not the prettiest photo you have seen. A shorter drive means more time at camp and an easier retreat if plans change.
Most campers choose from four kinds of places: national parks and forests, state parks, private campgrounds, and public land for dispersed camping. Developed campgrounds suit beginners because they offer marked sites and basic facilities. Federal campgrounds can be searched and booked on https://www.recreation.gov/ State parks and private campgrounds usually run their own systems.
Compare each candidate on the same points:
- Drive time: Be honest about a tired family after work.
- Facilities: Bathrooms, drinking water, showers, dump stations if needed.
- Season: Open dates, road access, and typical conditions for your month.
- Crowds: Popular parks and summer weekends book first.
- Rules: Pets, fires, group size, quiet hours.
Check the official page for closures and road conditions before you commit. Parks post these, and a washed-out road is better discovered at your kitchen table than at the gate.
If the booking page has recent visitor notes, read them. They can reveal noise, shade and mobile coverage that photos never show.
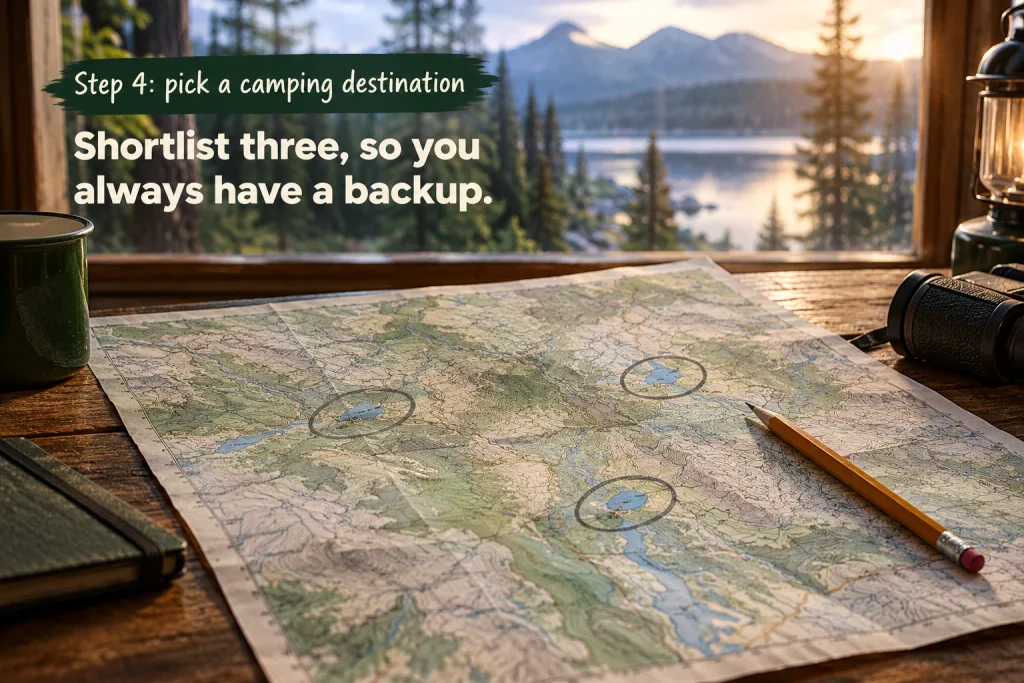
Shortlist three campgrounds, not one. You will use the second and third as backups in the next step.
Pro Tip: For a first trip, pick a campground you could leave in an hour. Being close to home takes the pressure off if weather or mood turns.
Step 5: Book Your Site
Find out when your campground opens bookings, then be logged in and ready when it does. Many federal campgrounds on Recreation.gov release dates on a rolling basis up to six months ahead, at 10 a.m. Eastern. Some parks use different windows, so confirm on the campground’s own page.
Popular sites sell out the minute they open because everyone wants the same weekends. State and private systems set their own windows, and they differ, so look up yours instead of assuming.
Before booking day:
- Create your account and save your payment details.
- Set a calendar reminder for the opening time in your own time zone.
- Pick your first choice, plus two backups from Step 4.
- Search one night at a time if a long stay shows no availability.
If your first choice is full, set an availability alert. On Recreation.gov, the National Park Service points campers to the bell icon above the availability calendar. Cancellations do happen, so check back.
Some campgrounds keep first-come, first-served sites. Others have none at all in busy seasons, so confirm before you drive out hoping for a walk-up spot.
How to Read a Reservation Listing
A listing tells you whether the site fits your trip. Look for:
- Site type: Tent, RV, walk-in or group
- Pad length and level ground: Will your tent and vehicle fit?
- Hookups: Electric, water, none
- Shade: Matters for naps and for keeping the cooler cool
- Quiet hours and check-in time: Listed in the campground rules
- Pet rules: Allowed or not, leash requirements
- Bear box or food storage: Required at some campgrounds
- Distance to bathrooms: Short for toddlers, longer for privacy
If a detail is not listed, call the campground before you pay.
Pro Tip: Save your confirmation as a screenshot. Some campgrounds ask you to show it on arrival, and cell service can be limited.
Step 6: Check Rules, Permits and Fire Restrictions
Read the rules for your exact campground and land manager before you pack, because permits, fires, pets and food storage all vary by place.
Entry rules change from year to year. In 2026, Rocky Mountain National Park required a timed-entry reservation to enter during set hours from May 22 to mid-October, with a $2 Recreation.gov processing fee, according to the https://home.nps.gov/romo/planyourvisit/timed-entry-permit-system.htm. Several parks that used timed entry in earlier years, including Arches and Yosemite, did not require it in 2026. Check the park’s page for the year you plan to visit.
Fire restrictions need a check twice: when you plan and again before you leave. Look at the website of the agency that manages your campground. National park pages list current restrictions, for example. The National Park Service also advises knowing where fires are permitted, never leaving a fire unattended, and considering a stove instead. The National Weather Service issues Red Flag Warnings for critical fire weather. Its guidance says to be extremely careful with open flames when one is in effect.
Wildlife and food storage rules matter just as much. Some campgrounds require food, trash and scented items to go into provided storage boxes. The https://www.nps.gov/seki/planyourvisit/camping-safety.htm notes that if a bear gets your food you should never try to take it back.
Your rules checklist:
- Permits or entry reservations for the park or area
- Current fire status and stove rules
- Pet and leash rules
- Food storage requirements
- Quiet hours, check-in and check-out times
- Group size and vehicle limits per site
Pro Tip: Screenshot the rules page when you book. Rules can change, and a copy helps you notice if they do.
Step 7: Plan for Weather and Season
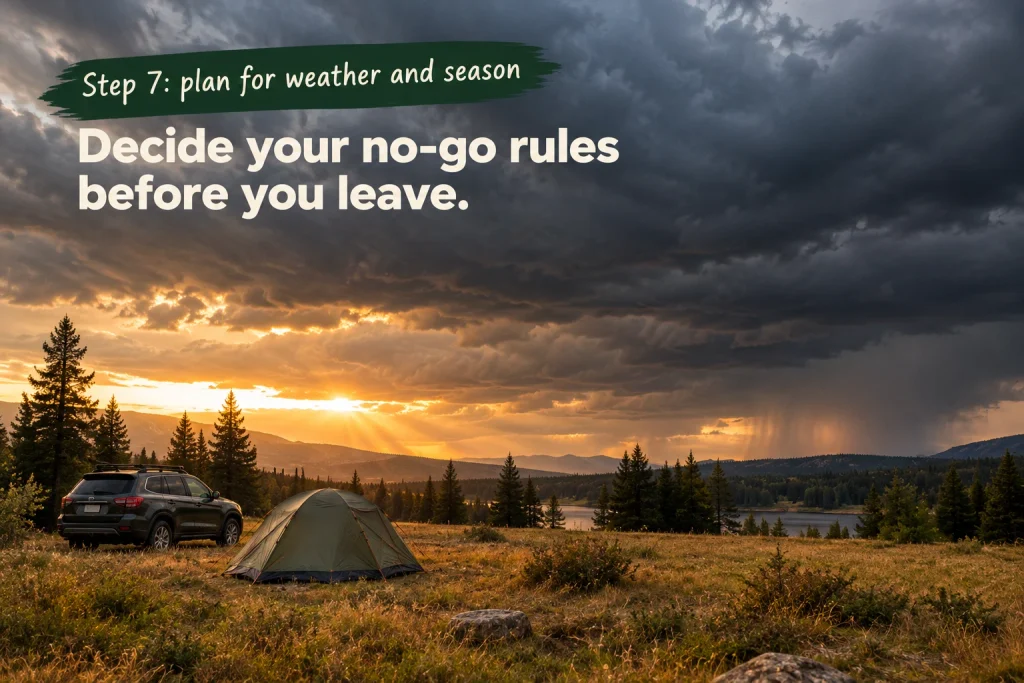
Check the forecast for your campground’s exact location, then decide in advance what would make you change plans. Deciding before you are cold, wet and tired is far easier.
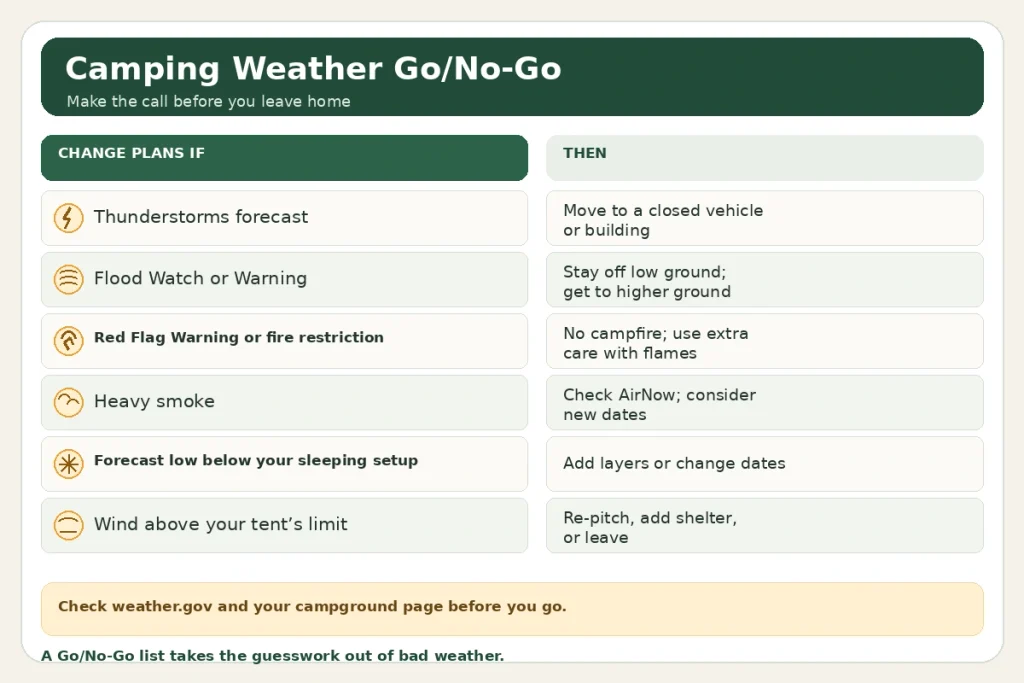
Search your campground on weather.gov and check the forecast several times: when you plan, a week out, the day before and the morning you leave. Use these Go/No-Go rules:
Checklist infographic of Go and No-Go weather rules for a camping trip
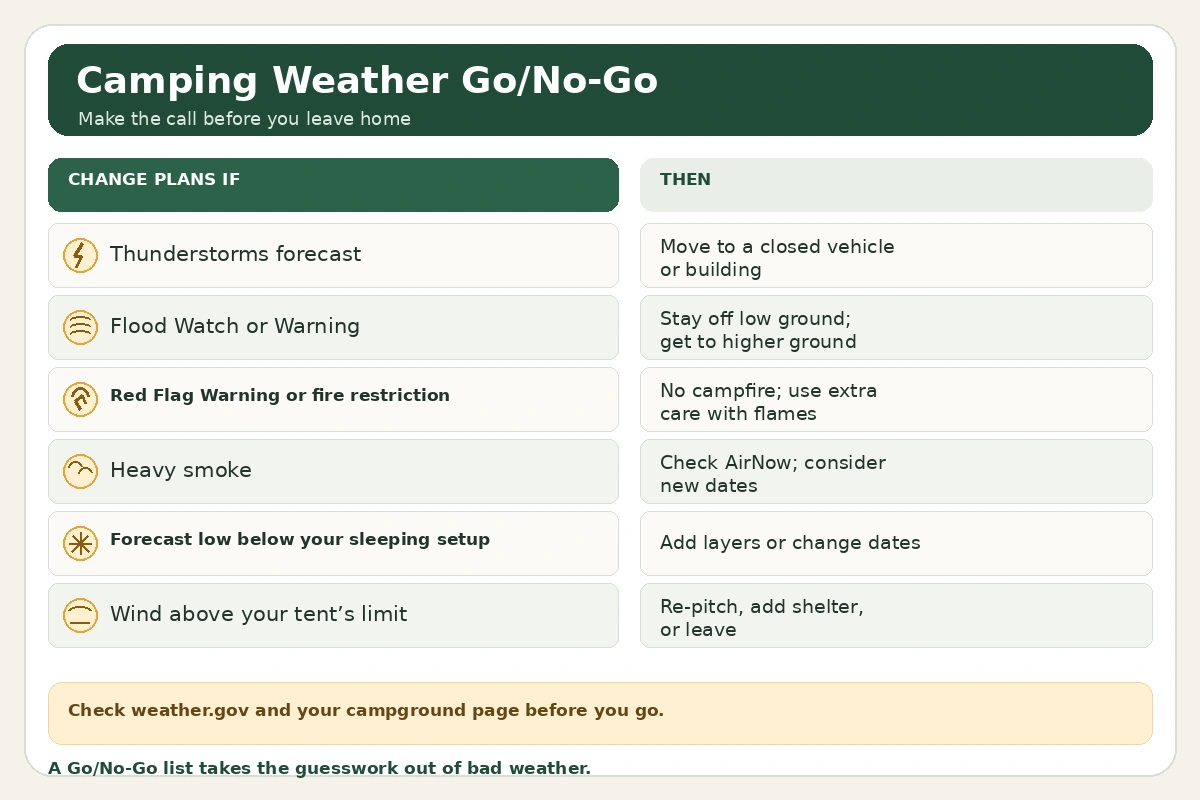
A Go/No-Go list takes the guesswork out of bad weather.
Change plans when:
- Thunderstorms are forecast. The National Weather Service says a tent does not protect you from lightning. Safe places are a substantial building or a closed vehicle, not a convertible. Stay inside for 30 minutes after the last thunder. See the https://www.weather.gov/rnk/outdoorslightning
- Flooding is possible. A Flood Watch means flooding is possible. A Flash Flood Warning means it is imminent or has been reported. The NWS says never camp on low ground next to streams and notes that most flash flood deaths happen at night. Read the https://www.weather.gov/rnk/outdoorsflooding
- A Red Flag Warning or fire restriction is active. Skip the campfire and be extremely careful with any open flame.
- Smoke is heavy. Check the https://fire.airnow.gov At very unhealthy levels, the guidance is for everyone to limit all outdoor physical activity.
- Overnight lows are below your sleeping setup. Compare the forecast low to your sleeping bag’s temperature rating.
- Wind exceeds your tent’s limits. Check the manufacturer’s guidance for your tent.
The NWS also notes that NOAA Weather Radio is the only direct way to receive its warnings, so do not rely on phone signal alone.
Pro Tip: Agree on the “no-go” rules with your group before the trip. Nobody has to be the one to cancel when the list does it for you.
Step 8: Plan Food, Water and the Cooler
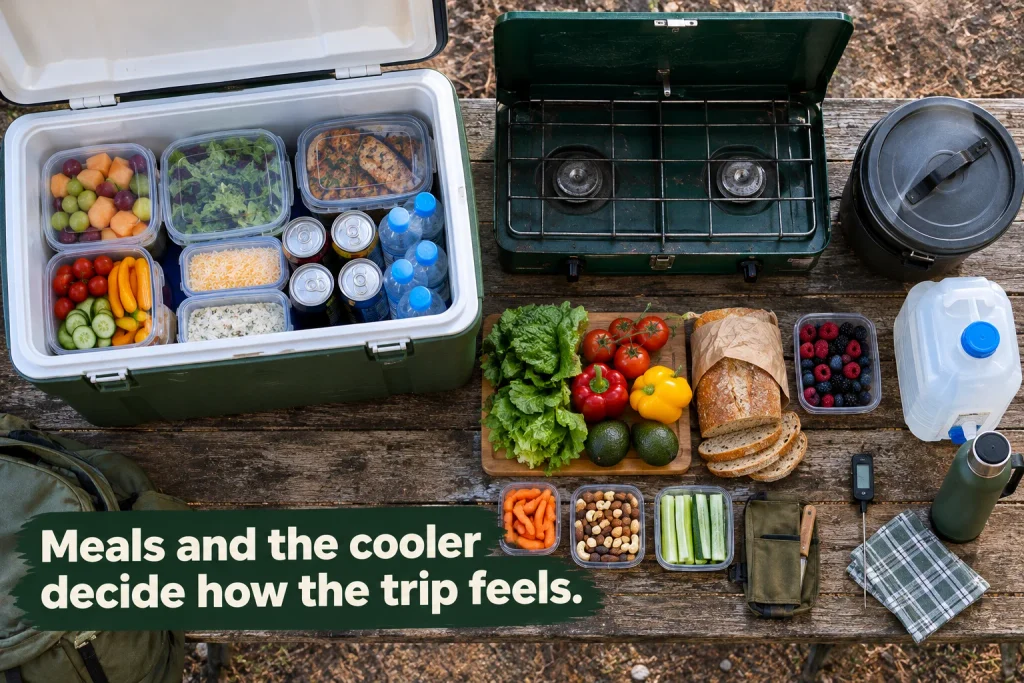
Plan simple meals, keep cold food cold, and bring more water than you think you need. Food is where camping trips go wrong quietly, through spoilage or hungry kids.
Plan one easy dinner per night, a breakfast that takes ten minutes, a no-cook lunch and a snack bin. Write the menu, then shop from it. A stove gives you control when fire restrictions apply.
Keep food safe. The U.S. Department of Agriculture says bacteria that cause foodborne illness grow between 40°F and 140°F. Keep cold food at or below 40°F and hot food at or above 140°F. Perishable food should not sit out more than two hours, or one hour when it is above 90°F. See the https://www.usda.gov/node/64066
Cooler habits:
- Move perishable food straight from the fridge or freezer into the cooler.
- Keep the cooler in the shade.
- Pack a separate drink cooler so the food cooler stays closed.
- Keep a thermometer inside and check it.
Water: Find out if your campground has drinking water and where. If you are unsure, bring your own for drinking, cooking and cleaning. Ask the campground rather than guessing.
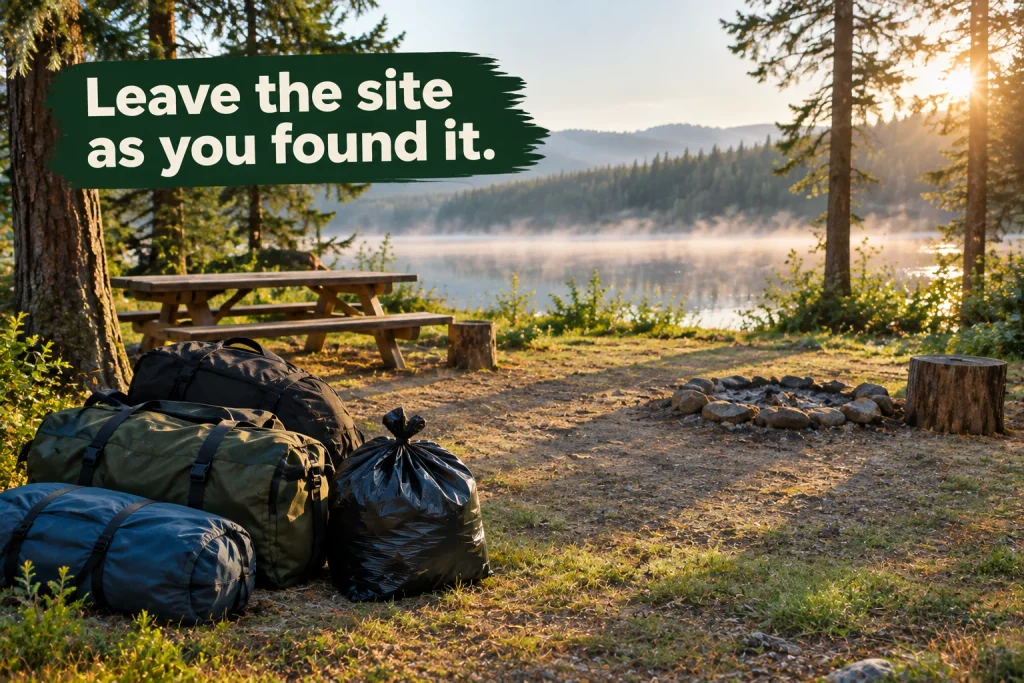
Keep food away from wildlife. Follow your campground’s storage rules, and never feed animals. Strain dishwater and scatter it as Leave No Trace advises, unless your campground gives different instructions.
Pro Tip: Prep ingredients at home and pack them by meal in labeled bags. Cooking at camp then takes minutes, not an hour of chopping in the dark.
Step 9: Build Your Gear List
Build the list from the trip itself, not from the store aisle. Walk through a day at camp in your head, from arrival to bedtime, and write down what each moment needs.
To build the list, walk through the trip in order: arrive and unload, set up shelter, cook dinner, sit by the lights, sleep, wake up cold or wet, cook breakfast, pack out. For each moment, ask what you would need in your hands. Write each item once, then group the list into shelter, sleep, kitchen, light and power, safety and comfort. The full list is near the end of this guide.
Check the list against the forecast. Rain adds a tarp and dry clothes. Cold nights add layers and a warmer sleeping pad. Heat adds shade and extra water. Three habits matter most:
- Borrow or rent first. Buy only what you will use again.
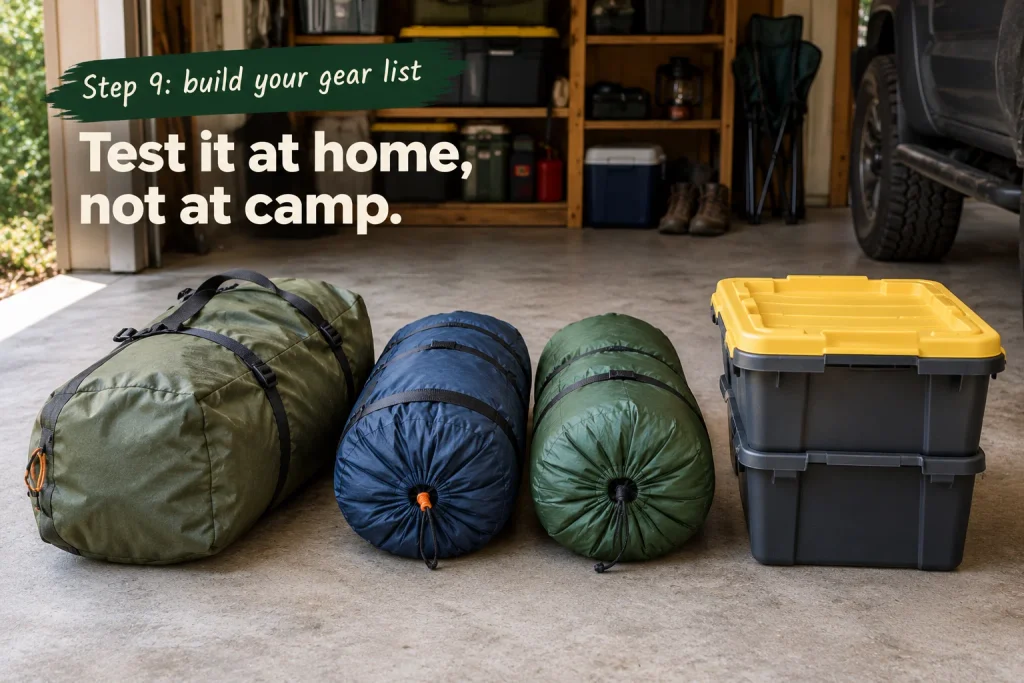
- Test everything at home. Pitch the tent in the yard, inflate the sleeping pad, light the stove, charge every light.
- Match gear to the forecast. A summer tent and a cool-night sleeping bag are different purchases.
Shelter is the biggest decision. Start with our guide to family tents and the best family tents of 2026, then see our Coleman Sundome 4-person tent review if you want a closer look at one option.
Pro Tip: Keep a camping bin that stays packed with the basics: stakes, lights, first aid, trash bags. You then only pack food and clothes each trip.
Step 10: Make a Safety and Communication Plan
Tell someone where you will be and when you will be back, and plan how you would call for help. Do this even for a short, close trip.
Write down your campground name, site number, the dates and the phone number of the campground or park office. Give it to a friend or relative. Agree on when they should worry.
Your plan should cover:
- Itinerary shared: Where you are staying, when you return
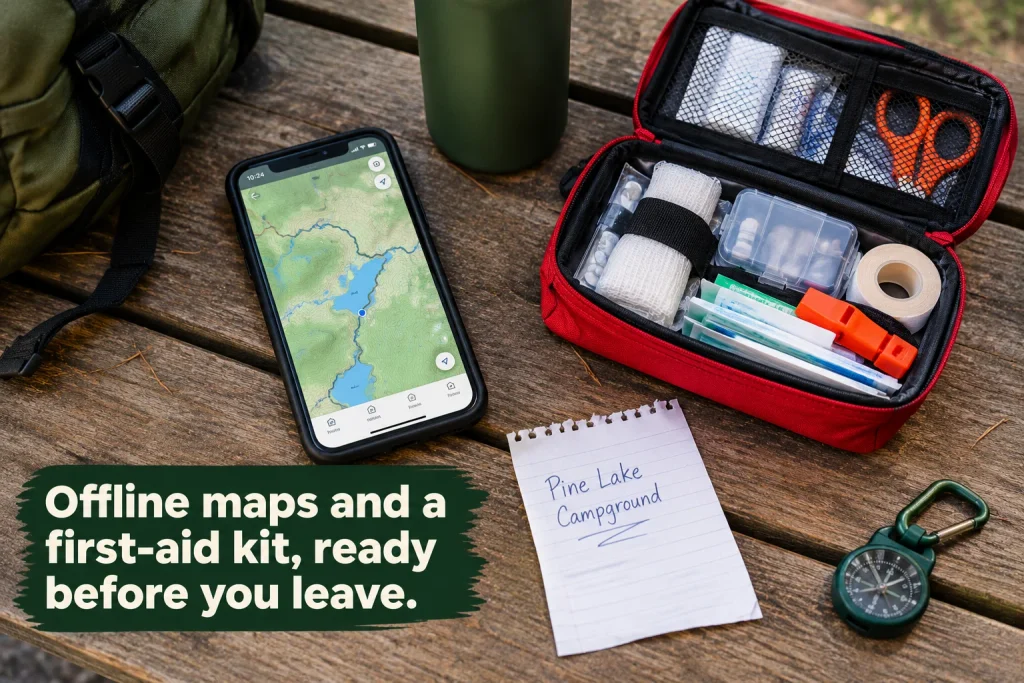
- First aid: A stocked kit and any personal medications
- Offline maps: Downloaded before you leave, since signal may not exist
- Weather alerts: A NOAA Weather Radio or another reliable method
- Meeting spot: A place everyone goes if they get separated
- Nearest help: Which town has a clinic, and how far it is
Plan for the common problems as well: a cut or blister, a child who wanders, a dead phone battery, a flat tire. Even three written lines for each saves you from making decisions while stressed. Keep the first-aid kit where everyone can find it, and show older children where it is.
Some phones can contact emergency services by satellite. Apple says iPhone 14 and later support it, and you must be outside with a clear view of the sky and horizon. Certain Android phones offer similar features. Treat it as a backup, never a plan.
Pro Tip: Ask each child to memorize an adult’s phone number. Phones die and wristbands get lost.
Step 11: Follow the Pre-Trip Countdown
Work backward from departure day in six stages. A countdown spreads the work out so nothing lands on the night before. Copy it into your phone notes and cross items off as you go. For a short, local first trip, you can compress the early stages into a few weeks.
Timeline infographic showing six stages of a pre-trip camping countdown

Six stages from three months out to departure day.
3 months out
- Lock dates, group and budget
- Pick a destination and check its booking window
- Create booking accounts
- Book, or set a reminder for the opening time
6 weeks out
- Confirm your reservation
- Check gear and list what is missing
- Practice pitching the tent
- Draft the menu
2 weeks out
- Check rules, permits and fire status
- Finish shopping for gear
- Test the stove, lights and sleeping pads
- Write the grocery list
1 week out
- Check the forecast daily
- Share your itinerary with someone
- Download offline maps
- Charge power banks and devices
Day before
- Final forecast and fire check
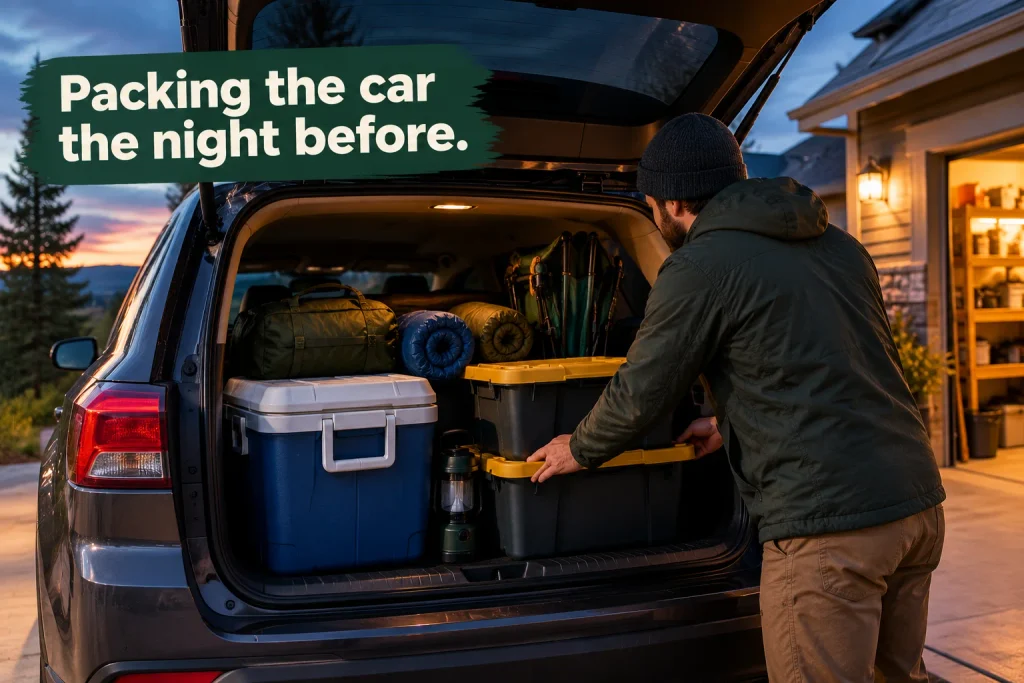
- Pack the car, with heavy items low
- Pre-chill the cooler
- Screenshot or print your reservation
Departure day
- Move perishables from fridge to cooler
- Leave early enough to arrive in daylight
- Confirm your route and fuel
- Text your contact that you are on the way
Pro Tip: Popular campgrounds may open bookings six months out. For those, “3 months out” is already too late, so shift the whole countdown earlier.
Step 12: Camp Responsibly and Review the Trip
Set up while there is daylight, follow Leave No Trace, and write down what you would change before the memories fade.
Arrive early enough to set up in daylight. Walk the site before you unpack and look for low spots, dead branches overhead and the path to the nearest bathroom. Pitch the tent on level ground away from the fire ring, then cook. Keep food stored properly and the site tidy.
Park so headlights do not shine into other sites, and keep voices down in the evening. Quiet hours exist for a reason.
The seven Leave No Trace principles are:
- Plan Ahead and Prepare
- Travel and Camp on Durable Surfaces
- Dispose of Waste Properly
- Leave What You Find
- Minimize Campfire Impacts
- Respect Wildlife
- Be Considerate of Other Visitors
Read the full guidance at https://lnt.org/learn/7-principles
After the trip, spend ten minutes on a review:
- What did we forget, and what did we never use?
- What was the best part, and the hardest part?
- Which meals worked, and which did not?
- What would we book differently?
- What needs drying, cleaning or replacing?
Dry the tent fully before storing it, restock the first-aid kit, and update your gear list while it is fresh.
Pro Tip: Add a note to your calendar for the next booking window right now, while you are still thinking about it.
Planning Smarter in 2026: Apps, Maps and Backup Tools
The best tools in 2026 are the ones that still work with no signal. Use apps for planning, then prepare for life without them.
- Booking and campground finders: Recreation.gov covers federal campgrounds. State parks and private campgrounds use their own sites. Set availability alerts where offered.
- Weather: weather.gov gives forecasts and warnings for your exact location. Add a NOAA Weather Radio for a signal-free backup.
- Smoke and air quality: The AirNow Fire and Smoke Map shows air quality, fire locations and smoke plumes.
- Offline maps: Download maps for your route and campground before you leave. No signal means no signal.
- Satellite messaging: Some newer phones and dedicated devices can send emergency messages by satellite. They need a clear view of the sky, and messages can be slow. Check what each device requires before you rely on it.
- Power: A power bank covers phones and lights. A larger portable power station can run more, but check campground rules on equipment before you bring one.
- Sharing your plan: A simple text with the campground name, site and return time is enough.
Pro Tip: Do a trial run. Put your phone in airplane mode at home and see if your offline maps still open.
Plan B: When the Plan Falls Apart
Most trouble has a simple answer if you decide it in advance. Keep this box in your phone notes.
If the site is full: Use your shortlist from Step 4. Set an availability alert, try weekday nights, or check nearby campgrounds on the same booking site.
If it rains: Keep a tarp and a spare dry set of clothes in the car. Plan one indoor-friendly activity. Remember a tent does not protect you from lightning. Move to a closed vehicle or building if thunder is close.
If a child gets sick: Leave early without guilt. Know the nearest clinic before you go, and call the park or campground office for local help.
If the car will not start: Keep a roadside assistance number in your phone and on paper. Tell your contact, and use the campground office phone if there is no signal.
If weather turns dangerous: Follow your Go/No-Go list from Step 7. Leaving early costs a night. Staying can cost much more.
How to Plan a Camping Trip With Kids, Dogs or a Small Budget
Each group needs the same twelve steps, with a few adjustments.
Camping With Toddlers and School-Age Kids
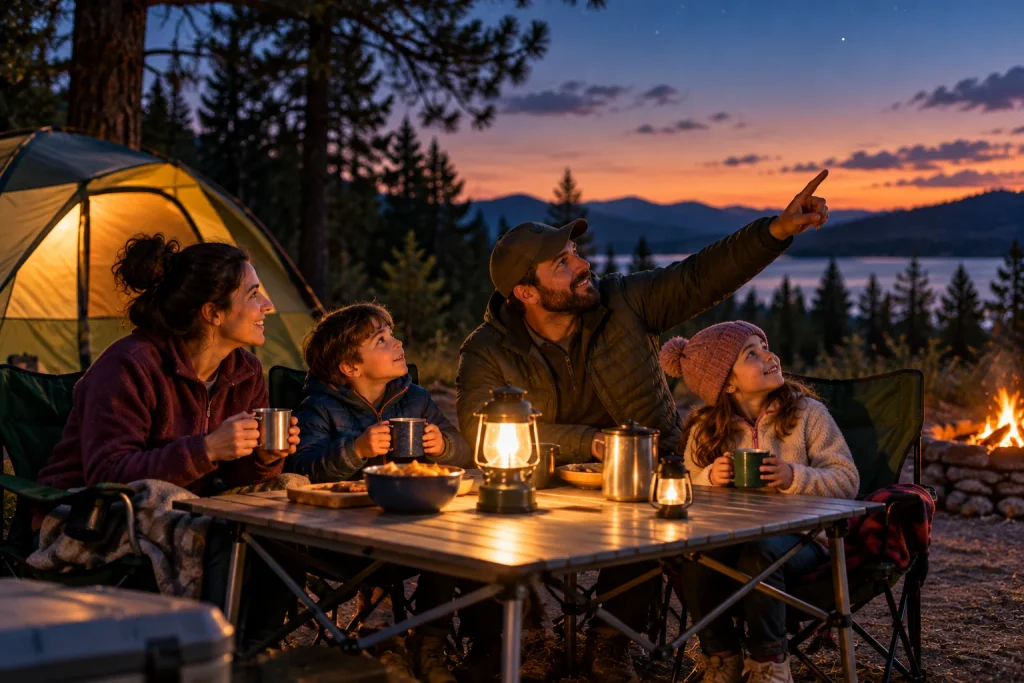
For toddlers, choose a short drive, a site near bathrooms and a flat spot away from the fire ring. Plan around naps and bring familiar bedtime items. School-age kids do better with jobs: carrying the lantern, finding sticks, helping set up. Add one simple activity per day and let them be bored a little. That is part of camping.
Camping With Dogs
Confirm the campground allows dogs, and read leash and noise rules. Leave No Trace advises controlling pets at all times or leaving them at home. Bring water, a long leash, waste bags and a plan for hot afternoons and thunderstorms. Never leave a dog in a closed vehicle.
Camping on a Small Budget
Choose a weekday, borrow gear, cook simple meals and stay close to home. A larger shelter is one purchase worth planning for. See our family tents guide for sizing ideas. Start your first trip small and build gear over time.
Common Mistakes Beginners Make
Almost all first-trip problems come from a handful of habits. Each one has a quick fix:
- Buying gear before choosing a site. Fix: Decide where and when first, then buy for that trip.
- Missing the booking window. Fix: Look it up and set a reminder before you pick dates.
- Assuming campfires are allowed. Fix: Check fire restrictions when you plan and before you leave.
- Skipping a test pitch. Fix: Set up the tent at home once.
- Leaving food out. Fix: Keep the cooler in the shade and follow storage rules.
- Trusting phone signal. Fix: Download offline maps and share your plan.
- Arriving after dark. Fix: Work backward from sunset to set a leave time.
- Camping near water or in a low spot. Fix: Choose higher, level ground and keep clear of streams.
- Overscheduling. Fix: Give each day one anchor and leave the rest open.
- Ignoring the forecast. Fix: Write Go/No-Go rules before you leave.
Gear List: Your Camping Trip Planning Checklist
Use this as a starting point and cut what your trip does not need.
Shelter
Sleep
- Sleeping bag suited to the forecast low
- Sleeping pad or air mattress, plus a pump if needed
- Pillows and an extra blanket
Kitchen
- Camp stove and fuel
- Pots, pan, utensils, plates and cups
- Cooler, ice and a thermometer
- Water containers
- Dish soap, sponge and trash bags
Lighting and power
Safety
- First-aid kit and personal medications
- NOAA Weather Radio or similar
- Whistle, multitool and matches or lighter
Comfort
- Camp chairs and a small table
- Layers for cold nights and rain
- Sun protection and bug protection
- Hats, extra socks and shoes you can get wet
For shelter, read our best family tents of 2026 and the Coleman Sundome 4-person tent review before you buy. Coleman Sundome 4-Person Tent: check current price on Amazon
As an Amazon Associate I earn from qualifying purchases.
Final Verdict: Your Camping Trip Plan in 12 Steps
Plan in order: people and dates, style, budget, destination, booking, rules, weather, food, gear, safety, countdown, then camp and review. Follow that order and how to plan a camping trip stops feeling like guesswork. Each step protects the next.
Start with step 1 tonight. Pick your dates, choose your people, and write down the booking window for the campground you want. For shelter that fits your family, see our best family tents of 2026 and our family tents guide.
FAQ
How far in advance should I plan a camping trip?
Start as soon as your dates are firm. Popular campgrounds on Recreation.gov often open bookings up to six months ahead at 10 a.m. Eastern, and weekends fill first. Quiet campgrounds may have openings later. Check your campground’s booking window. If your dates are flexible, weekday nights are usually easier to find.
How do I plan a camping trip for beginners?
Choose car camping at a developed campground close to home for one or two nights. Book a site, check the rules and forecast, plan simple meals and pack from a checklist. Test your tent at home first. Keep the plan small: one anchor activity per day and an easy menu.
Do I need a reservation to camp?
Often yes, especially at popular campgrounds. Some campgrounds keep first-come, first-served sites, but many do not. Some parks also require entry reservations. Check the campground’s page before you drive out. If a site is first-come, first-served, arrive early and keep a backup campground ready.
How do I plan a family camping trip?
Pick a short drive, a site near bathrooms and simple meals. Give kids small jobs and plan one activity a day. Book early for weekends, and keep a backup plan for rain or an early exit. Pack a few familiar snacks and comfort items for the kids.
How do I plan a camping trip on a budget?
Add site fee, fuel, food and must-buy gear, then add 10 to 15 percent. Save with weekday nights, closer campgrounds, borrowed gear and simple meals. Do not cut safety items such as shelter, water or first aid. Our gear list shows what you can borrow before you buy anything.
What should I bring on my first camping trip?
Bring shelter, sleep gear, a stove and food, lights, first aid, warm and waterproof layers, and offline maps. Use the gear list in this guide as a starting point. Test everything at home before you go, and adjust the list for your forecast.
How do I keep food safe while camping?
Keep cold food at or below 40°F and hot food at or above 140°F, according to the USDA. Perishable food should not sit out more than two hours, or one hour above 90°F. Keep the cooler in the shade. A small thermometer inside the cooler makes the temperature easy to check.
Is it safe to stay in a tent during a thunderstorm?
No. The National Weather Service says aaot wait for rain to start before you move.